INDI Library v2.0.7 is Released (01 Apr 2024)
Bi-monthly release with minor bug fixes and improvements
Post your INDI Setup!
Replied by Magnus on topic Observatory 17b
The opening is 105x105 cm.
I found this number by setting up everything on the tripod inside, next to a wall. I then rotated the tripod until I had tested every position, while I released the clutches and moved the scope finding the point reaching the longest from center.
With my gear it's the top - front thumb screw on the finderscope, that is most likely to hit something.
I added ~5 cm clearance for it when the roof is closing and the mount is parked.
I suggest that you do the same. Set it up inside and measure the limit
")
As the powerline adapters will never work with the dew heaters I decided to make a hole for ethernet. I found what I need at a decent price, so that will be the best choice in the long run
CAD for box is here 3dwarehouse.sketchup.com/model.html?id=c...ef-abd8-a674c09fdf4a
Website: Observatory 17b
Build thread @ SGL: Starting summers observatory project
Please Log in or Create an account to join the conversation.
Replied by Jim on topic Post your INDI Setup!
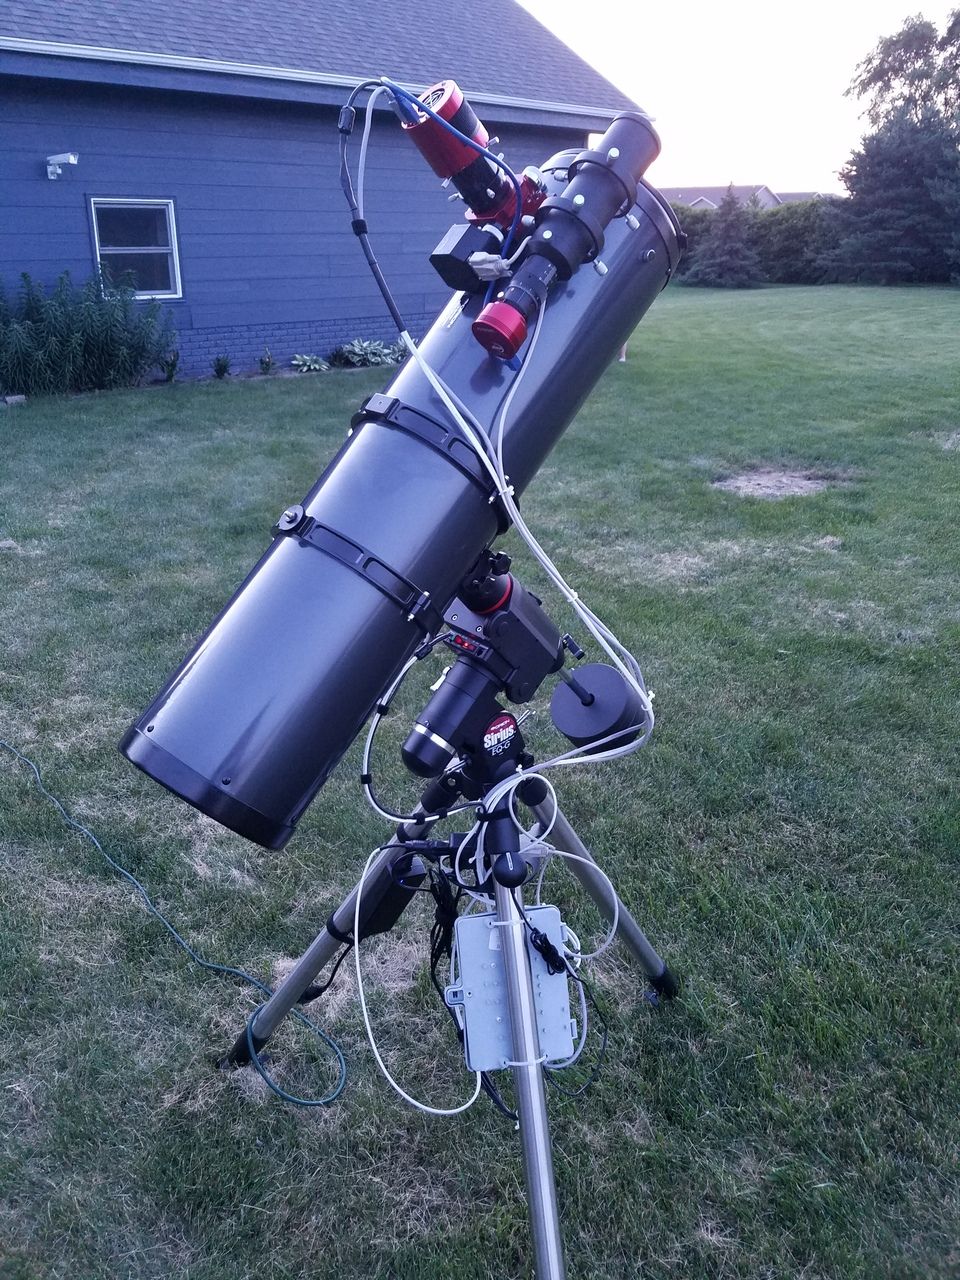
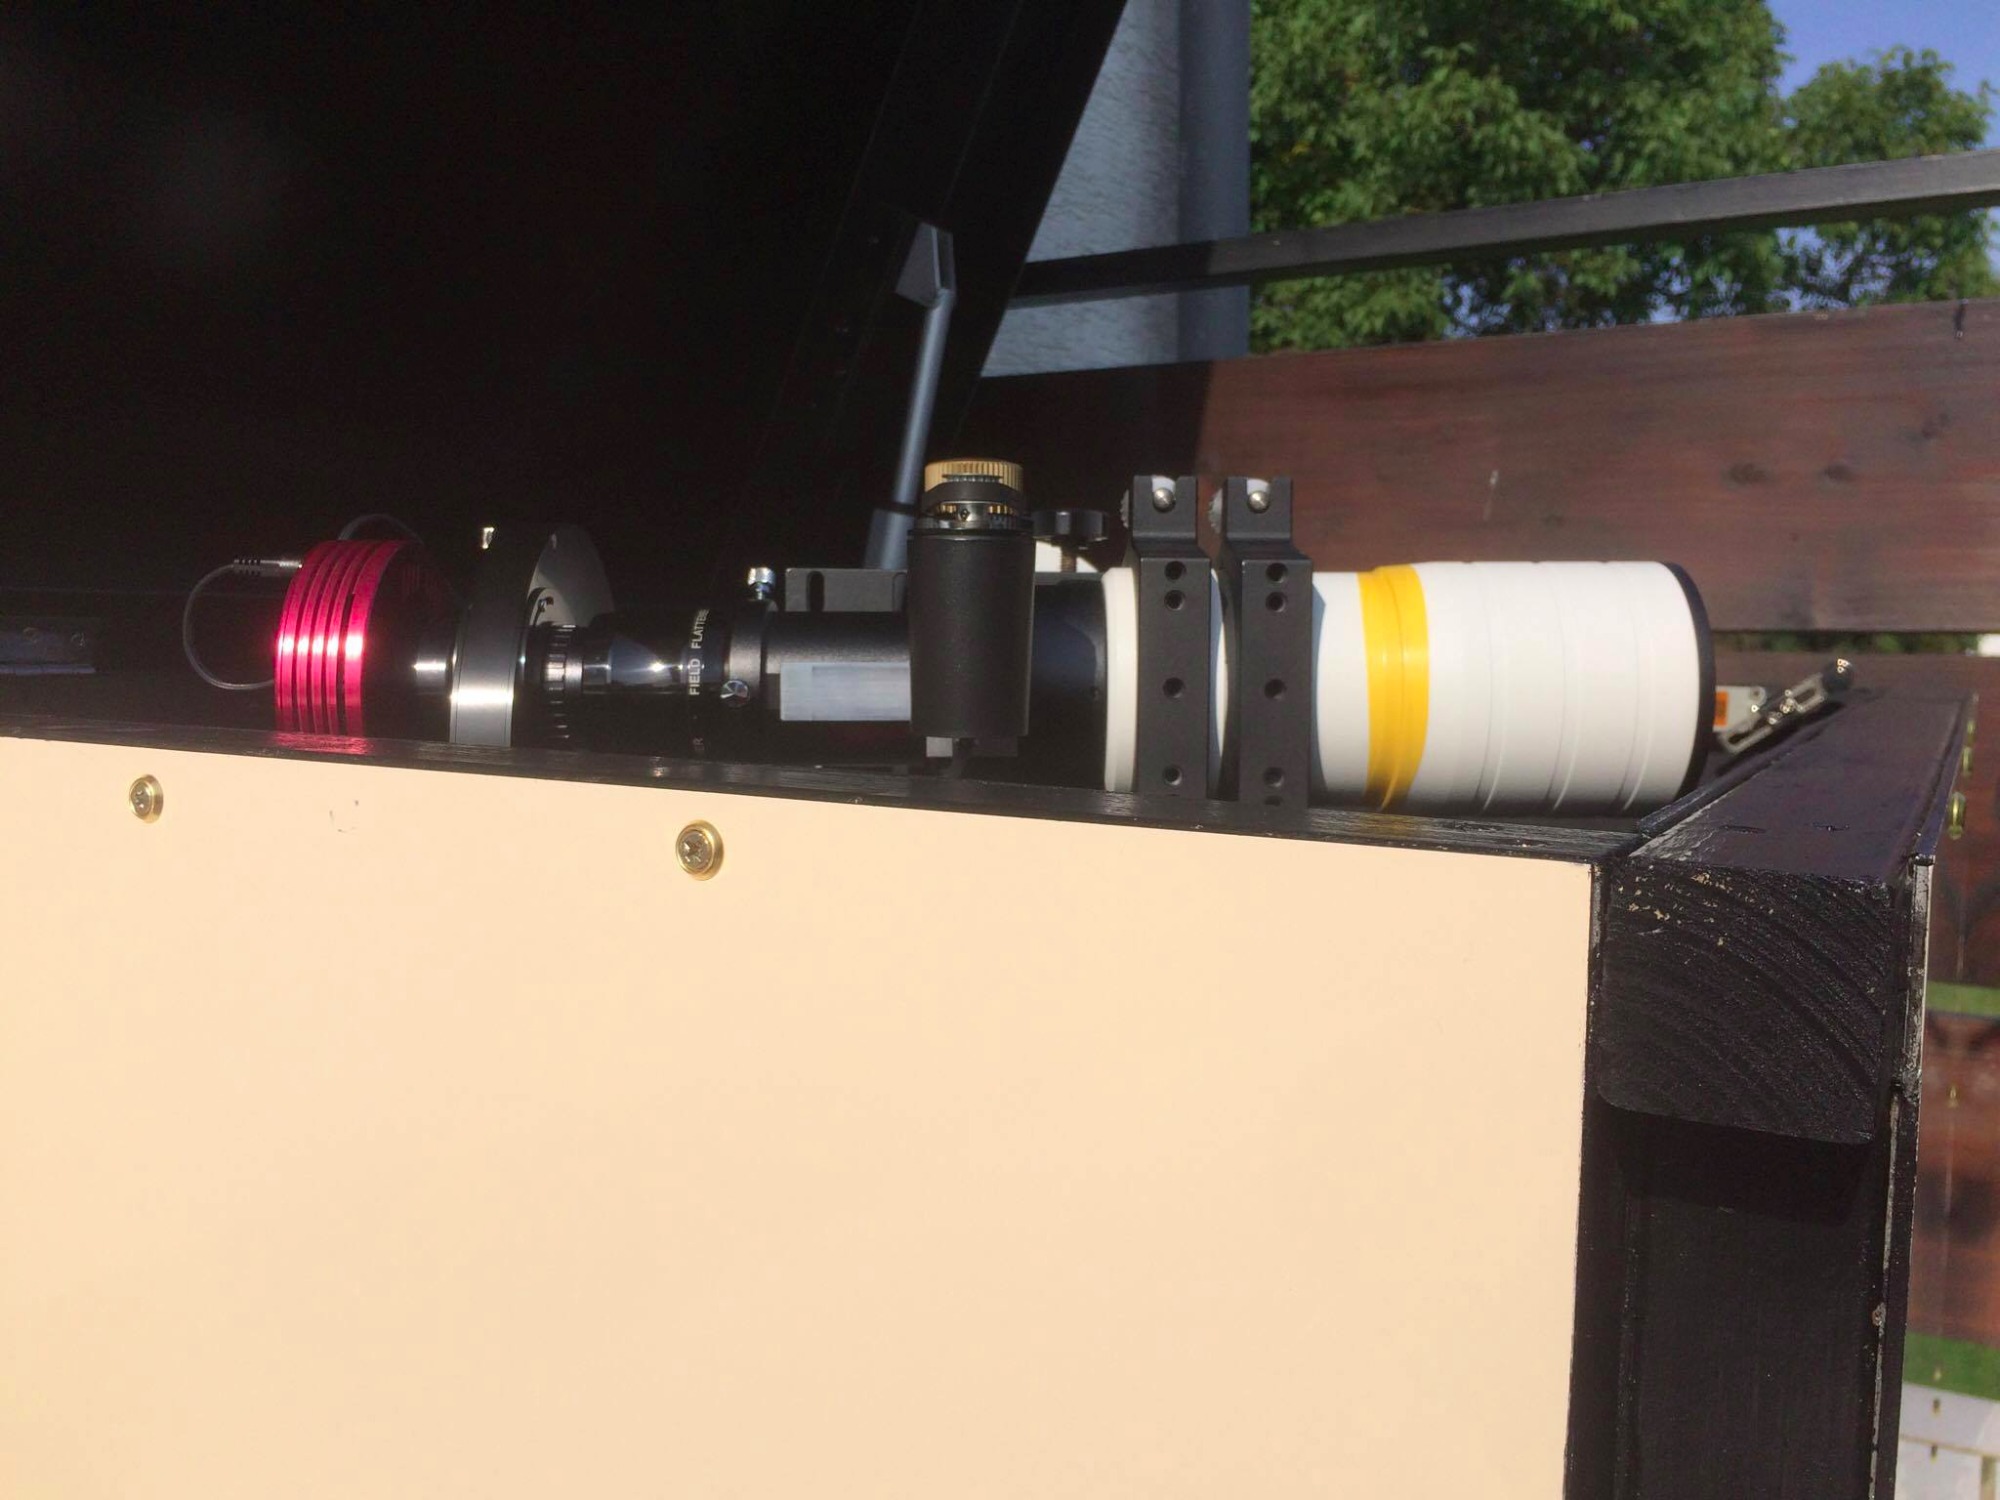
The scope has been updated with a moonlite focuser, a 60mm guide scope with a ASI290 camera, and the main camera is an ASI1600MC. I also have a cable that allows me to no longer need the hand controller. Everything is then remotely controlled from my office in the house. Wish I would have had this over the winter!
I am using the following INDI pieces; EQMOD, GPSD, WunderGround, Moonlite, Astrometry, ZWO CCD
Please Log in or Create an account to join the conversation.

Replied by Khalid on topic Post your INDI Setup!
My setup is very simple in comparison, but INDI/Ekos make life much easier.
What I do NOT have:
- Autoguiding: my mount has no autoguiding port, and I don't want the weight and complexity (yet).
- Motorized focusing: I focus manually at the beginning of the night.
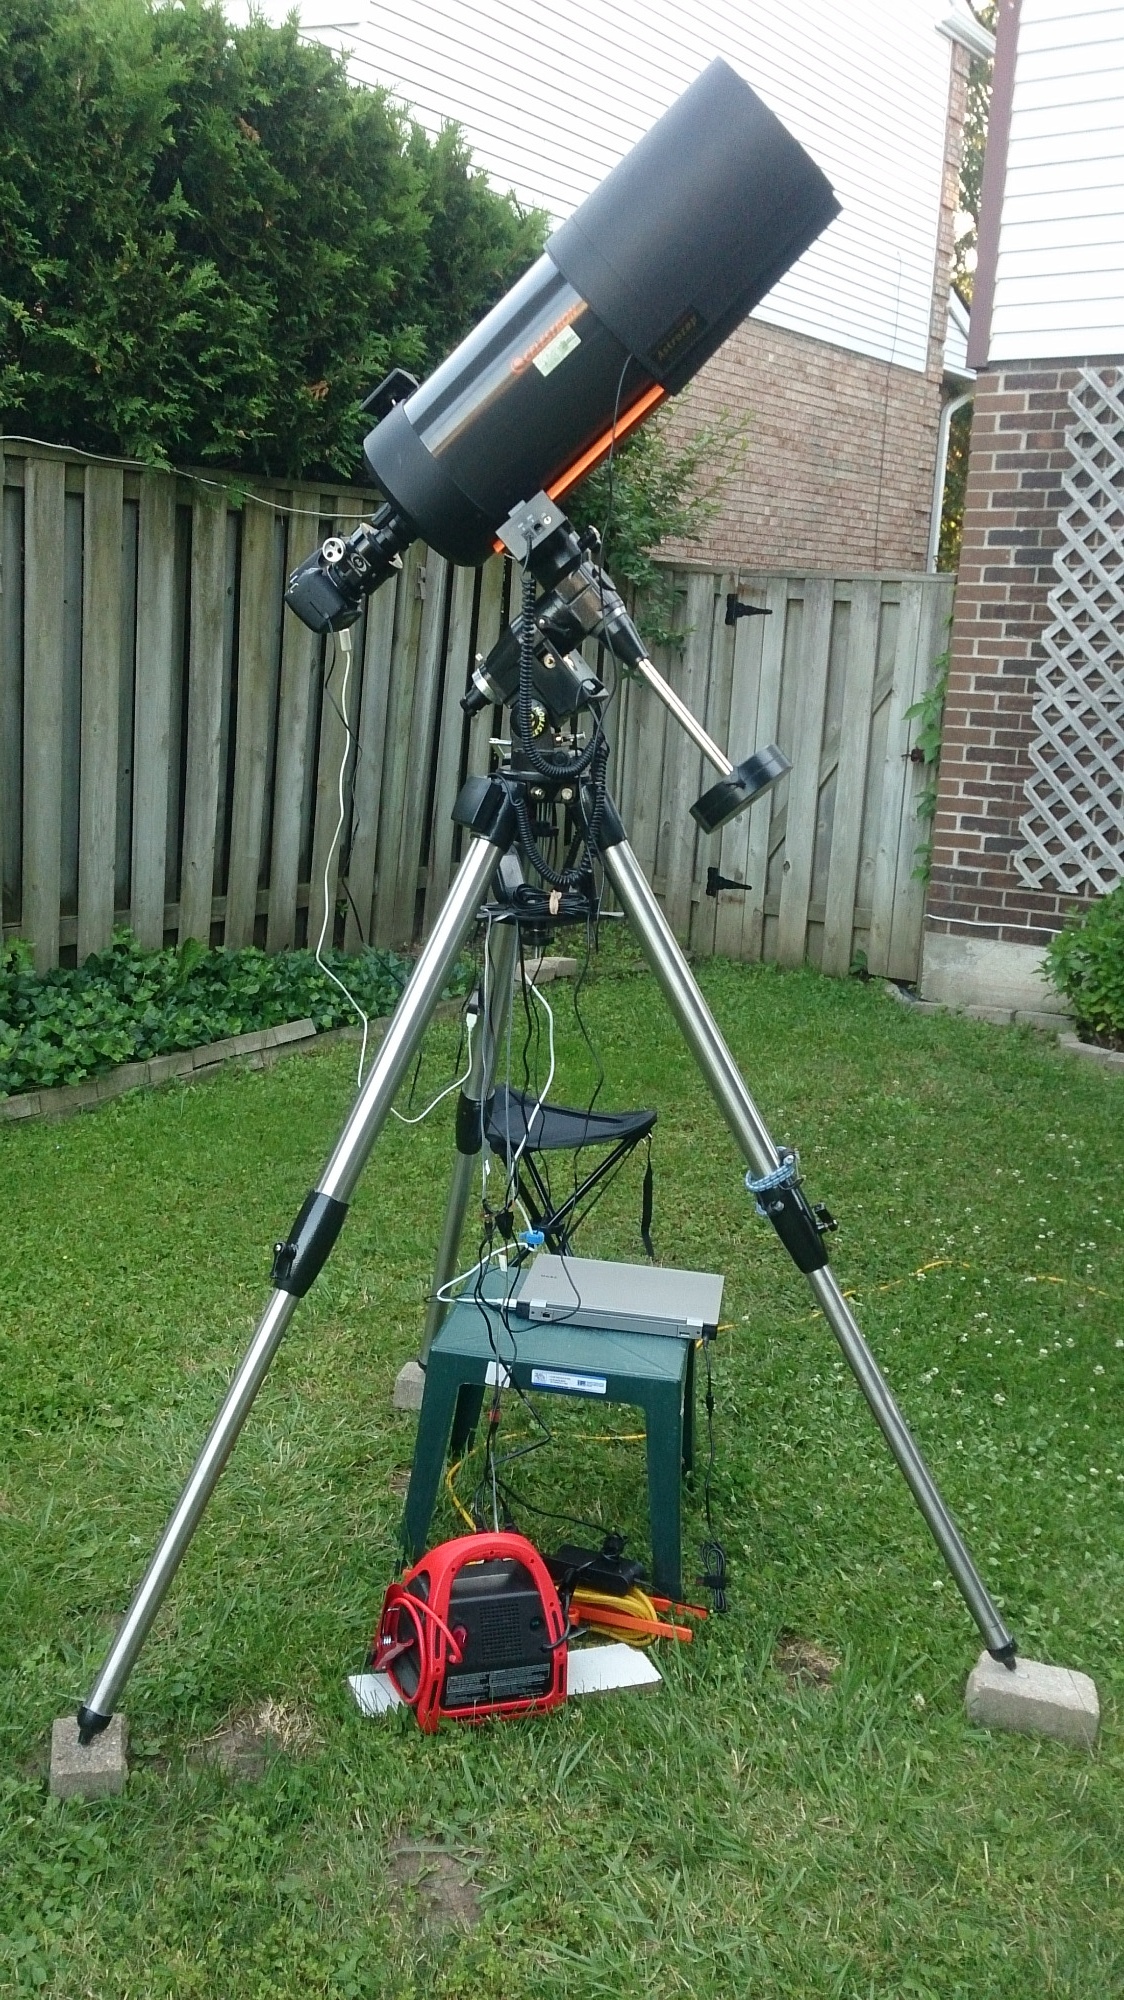
Mount: Celestron CG5 with the GotoNova 8400 Upgrade Kit, and 8401 hand controller.
Optical Tube: Celestron C8 with Starbright XLT, with F/6.3 Focal Reducer Corrector (1085 mm focal length)
Camera: Canon EOS 650D, with 2 inch adapter
Focuser: JMI EV2 2 inch focuser (it adds to the optical train length hence focal length is not 1280 mm). This is not strictly necessary, but it came with the scope package, and allows 2 inch accessories to be used.
All this is controlled from an old laptop (now a 2009 Toshiba Satellite A300, with Core 2 Duo), 8GB or RAM, and an SSD disk. The laptop has Xubuntu (XFCE) 16.04.3, with KStars and INDI from Jasem's PPA for daily builds.
The laptop connects to the home network by WiFi, and I use NoMachine to login to it and run KStars/Ekos from inside.
The battery pack was used for the mount only before I got a 110V AC to 12v DC adapter, and now everything is on regular house power using an extension cord.
Since I don't have autoguiding, I am limited to 30 seconds of exposure. I don't do stacking or postprocessing for many reasons, and the 30 second exposures are acceptable for now.
My workflow shuns eyepieces and visual work completely. Even focusing is done on the DSLR's LCD from LiveView at the start of the evening. I setup everything, do a rough polar align using the built-in polar scope, balance the scope, wait for something to focus on, then go inside and commandeer the scope from there. Plate Solving alignment is magic, and the killer feature for this setup. I then point the scope to targets and take one exposure to check everything is good, then create a sequence of 5 or so pictures, and let it roll, then move to the next target.
The tedious part is setting up and removal of equipment every night.
Please Log in or Create an account to join the conversation.
Replied by Derek on topic Post your INDI Setup!
Derek
Please Log in or Create an account to join the conversation.
Replied by Khalid on topic Post your INDI Setup!
Please Log in or Create an account to join the conversation.
Replied by Derek on topic Post your INDI Setup!
Derek
Please Log in or Create an account to join the conversation.
Replied by Khalid on topic Post your INDI Setup!
The result was a 'calibration failed' or something similar consistently. That what dissuaded me from taking this idea further.
Please Log in or Create an account to join the conversation.
- Gonzothegreat
-

- Offline
- Moderator
-

- Posts: 2255
- Thank you received: 223
Replied by Gonzothegreat on topic Post your INDI Setup!
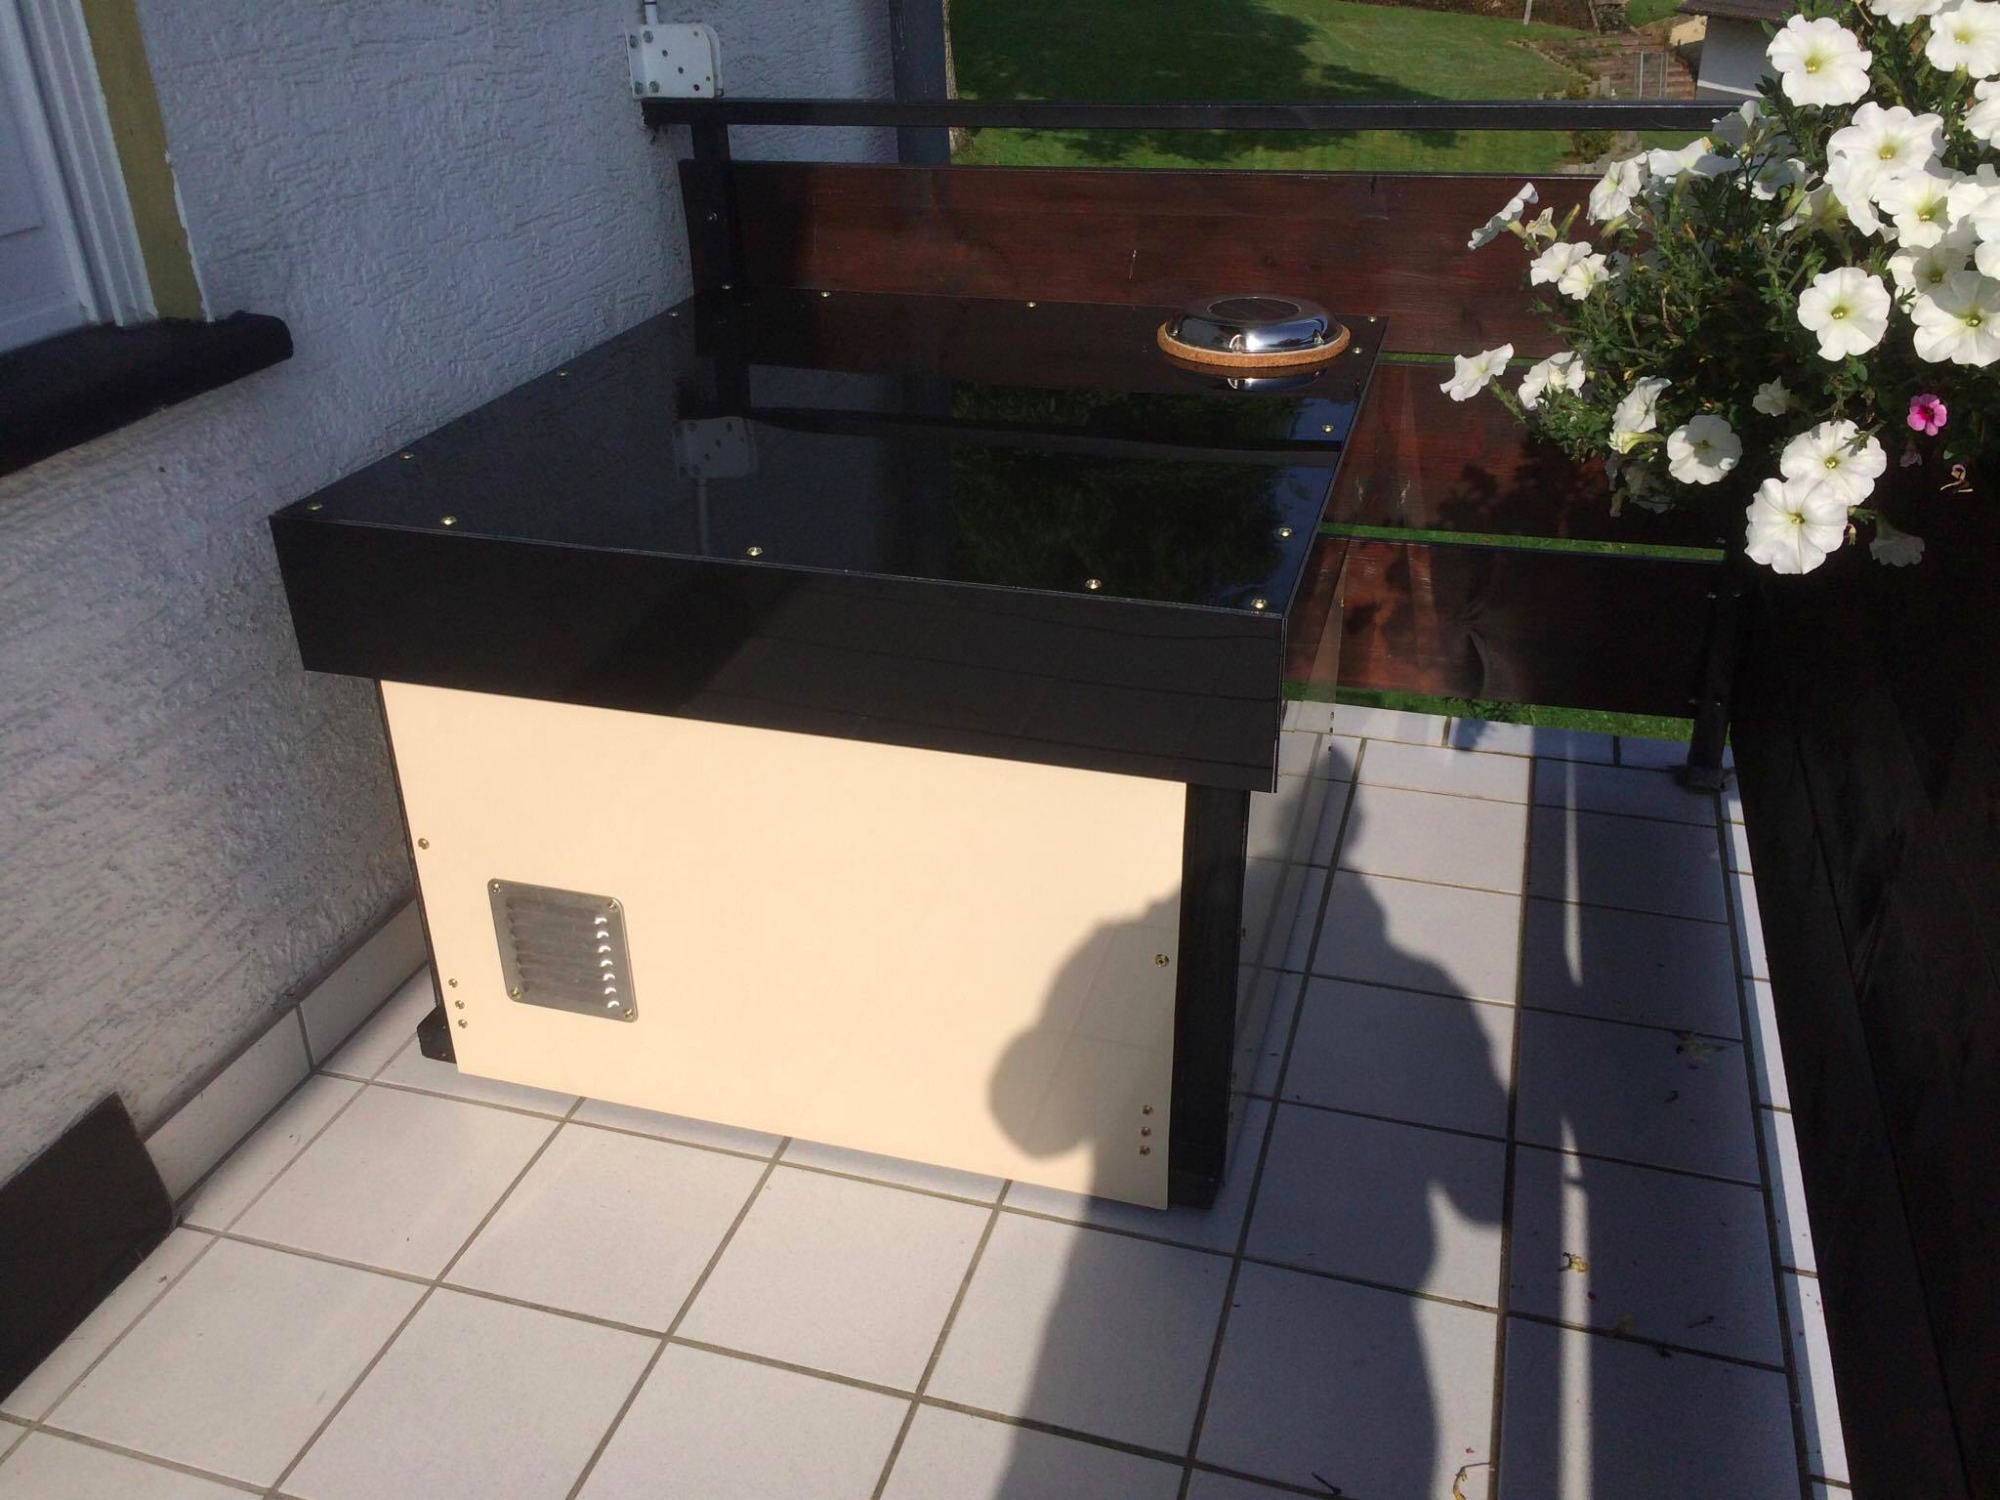
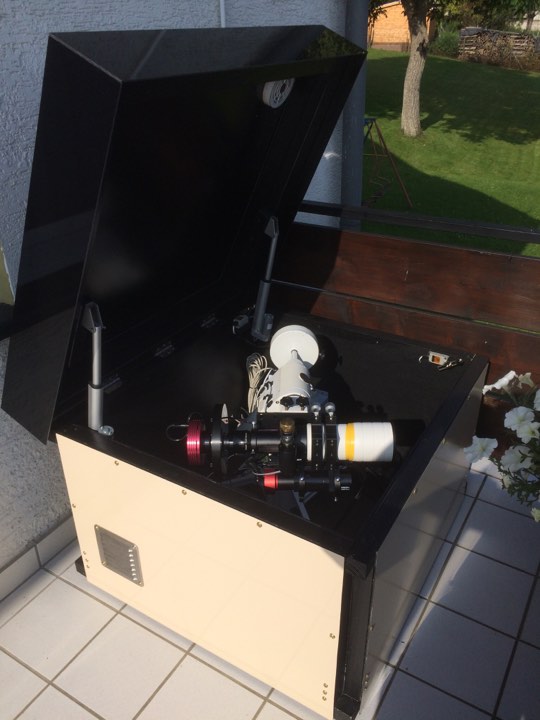
This time, the box is way lighter than the other one, lower design. The frame is wood, outer panels are aluminium.
It can be taken down in just a few minutes. It is quite a major improvement on the first box.
Any questions, fire away please.
Please Log in or Create an account to join the conversation.
- Jasem Mutlaq
-
 Topic Author
- Online
- Administrator
-

Replied by Jasem Mutlaq on topic Post your INDI Setup!
Please Log in or Create an account to join the conversation.

Replied by pauledd on topic Post your INDI Setup!
Did you use some kind of black velours on the inside walls or is it just black painted wood?
pls excuse my bad english!
Please Log in or Create an account to join the conversation.
Replied by Magnus on topic Post your INDI Setup!
I don't think this is far off a flat packed kit people would by.
If you are thinking of making a new MeteoStation, I have completed the box, and made quite a few updates to the arduino firmware and meteoWEB config (as it was not updated the last five years).
There are more options for customizing settings, and more checks to keep the firmware up. I also updated the libraries to newest versions with support for BMP180 among other.
They are all in my fork of INDI. I will make a pull-request when I get around to making the howto for it.
github.com/indilib/indi/compare/master.....c2e95ddb4f22558245ce
github.com/indilib/indi/compare/master.....34fd554289f256d03a2b
github.com/indilib/indi/compare/master.....ino-meteoweb-updates
Looking forward to some pictures.
Website: Observatory 17b
Build thread @ SGL: Starting summers observatory project
Please Log in or Create an account to join the conversation.
- Gonzothegreat
-
- Offline
- Moderator
-
- Posts: 2255
- Thank you received: 223
Replied by Gonzothegreat on topic Post your INDI Setup!
Paul, I didn't use any velour, wood panels painted black only.
@Magnus, I will contact you via pm regarding the weather station.
So for the new box I have spend many hours thinking about the new design. I know my first box had inspired quite a few out there. Magnus was too I believe (correct me if I'm wrong there), I saw his box and pinched the idea of having the linear actuators further apart from each other.
My first box had many flaws, for example the camera would hit one linear actuator, I had a leaky lid, the wood side panels did shrunk, the micro switches for the lid were inadequate. It had too many screws, too much wood, too many angle brackets.
I watch quite a lot of youTube videos about wood tenons, cutting wood, gluing wood etc...
The frame is wood, properly cut square, minimum amount of screws (I used probably a 10th if not less than the old box), wood glue was also used (damn this glue is super strong once fully dry). The inside panels are plywood, probably 4 mm or so, they are not structural.
The outer ones are aluminium composite panels, SUPER strong and SUPER lights.
Each panels are secure by 6 screws only at the bottom (3 each corners) and only 4 screws at the top. It takes 10 min max to dissemble the box.
The alu panels are actually stuck to the wooden frame using 3M vhb tape, go watch some videos about this tape, got to see to believe it really.
I had to design it with constraints in mind: had to "fit" the allowed/allocated space on the balcony of the in-laws, it HAD to fit 100% flat packed in the boot of my car (it fits with 5 mm to spare (witdh), no kidding.
I've relocated the solar vent/fan to the front where the sun would hit it more than when it was in the back. The wiring has been improved too.
I guess the only flaw in my design that I can think off is that I could have build it 5 cm longer (it's not quite a square, about 105cm/95cm)
Please Log in or Create an account to join the conversation.