Astroberry Server Popular
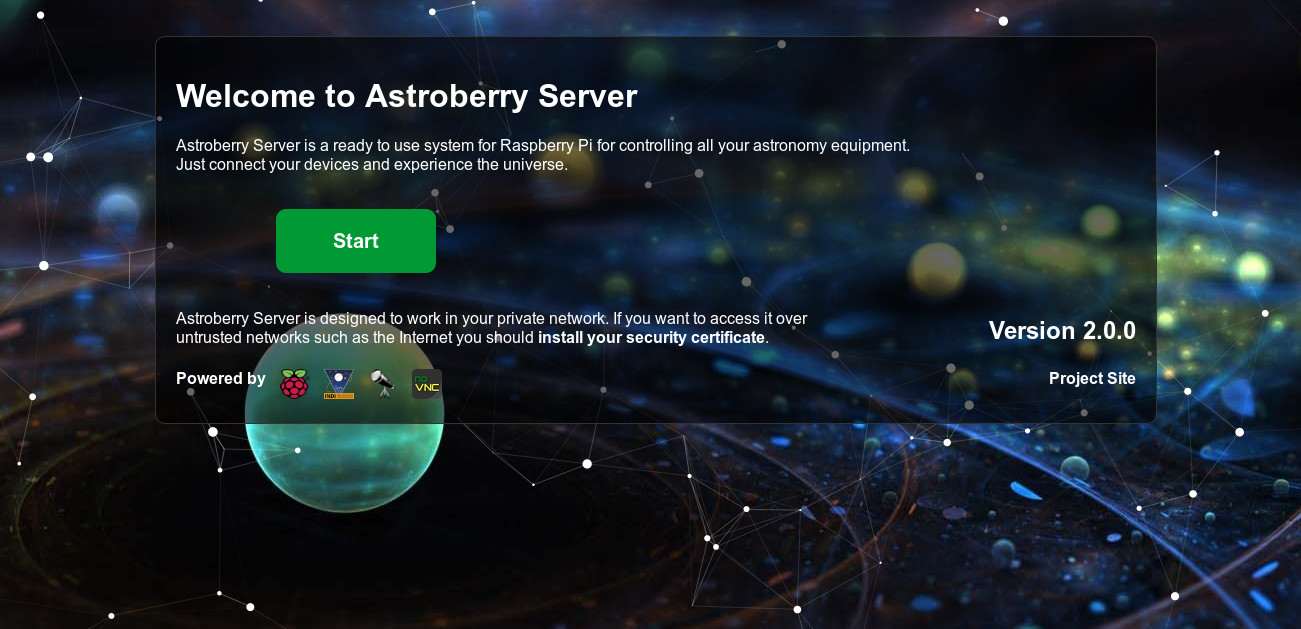
Astroberry Server is a ready to use system for Raspberry Pi for controlling all your astronomy equipment. It handles all astronomy equipment supported by INDI server.
Features
Astroberry Server features:
- Raspbian Buster Desktop
- Support for Raspberry Pi 3 and 4, Pi Zero and... probably any other Raspberry Pi version released so far
- APT repository for Raspbian Buster (yes, now any Raspbian Buster user can install Astroberry Server with 'apt install')
- Web interface featuring GPS Panel and Astro Panel (celestial almanac for your localization)
- Astroberry Wireless Hotspot allowing to access the system directly i.e. without external wireless network eg. in the field
- Remote desktop accessible over VNC at astroberry.local:5900 or a web browser at http://astroberry.local/desktop
- KStars planetarium software and Ekos with all available device drivers plus custom astroberry drivers
- SkyChart / Cartes du Ciel planetarium program (only in precooked image)
- Hallo Northern SKY planetarium program (only in precooked image)
- CCDciel capture software (only in precooked image)
- Astrometry for field solving
- ASTAP, the Astrometric STAcking Program (only in precooked image)
- PHD2 for autoguiding
- Gnome Predict for satellite tracking
- Firecapture for planetary imaging
- oaCapture for planetary imaging
- SER Player for watching captured video streams (only in precooked image)
- Astroberry DIY drivers for focuser and relay board
- Astroberry PiFace drivers for focuser and relay board
- Astroberry Motor HAT for focuser based on Adafruit Motor HAT
- File sharing server allowing for network access to captured images
- Support for raspi-config (console) and rc_gui (graphical UI) for easy configuration of Raspberry Pi options
Installation
Download Astroberry Server image and flash your microSD card with it. You're ready to go right after the first boot!
You can flash your microSD card (minimum 16GB required) using etcher.io or running the below commands in your terminal:
unzip astroberry-server_2.0.1.img.zip
sudo dd if=astroberry-server_2.0.1.img of=/dev/sdX bs=8M status=progress
Note: Replace sdX with your microSD card identifier. Make sure it is correct before running the above command!
After flashing your microSD card, boot your Raspberry Pi and enjoy! It is recommended to update your system after first boot. Run 'sudo apt update && sudo apt upgrade' to keep your system up to date.
Visit www.astroberry.io or https://github.com/rkaczorek/astroberry-server for detailed instructions and FAQ.
How to use it?
It's as simple as this:
- Start your Raspberry Pi with the flashed microSD card.
- Connect to an Astroberry Wireless Hotspot (default password is astroberry)
- Point your browser to http://astroberry.local or http://IP_ADDRESS
- Click Connect button to access Astroberry Server
- Connect to Astroberry desktop (default password is astroberry)
Note 1: If you connect via Hotspot default IP_ADDRESS is 10.42.0.1, if you connect via wire or your home wireless network, IP_ADDRESS will be assigned by your router/access point.
Note 2: Astroberry Server is accessible via insecure at http://astroberry.local or http://IP_ADDRESS or secure https://astroberry.local or https://IP_ADDRESS. If you use the latter you need to trust provided certificate or install your own. Otherwise your browser will warn you of security risk.
Issues
If you found a bug, please report it at GitHub
